
Quick Guide: Starting Rosemary From Seed

Updated: Apr 9
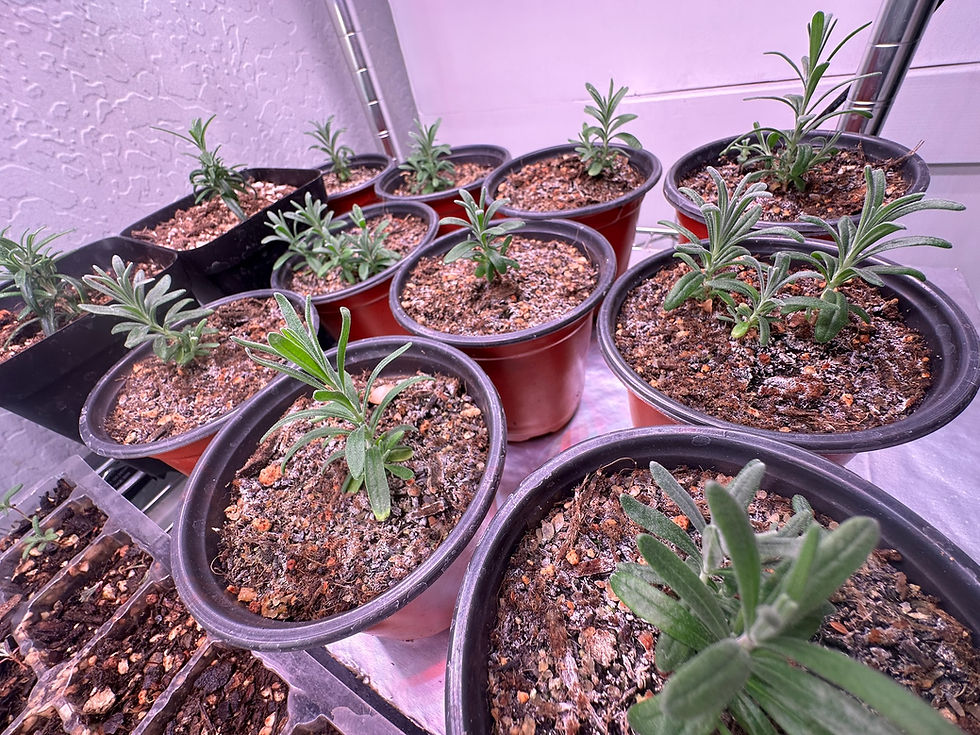
Section | Description |
Introduction | a brief background on Rosemary and what to expect. |
Step 1: Seed Selection | How to choose your seeds |
Step 2: Cold Stratification | How to increase germination rate and chance of success |
Step 3: Seed Germination | How to germinate the seeds |
Step 4: Early Seedling Care | How to care for young Rosemary seedlings |
Introduction:
Rosemary (Rosemarinus officinalis)
Native to the Mediterranean hills of Portugal and Northwestern Spain. Rosemary has a deep cultural significance that, frankly, deserves its own article. In this article I will provide a quick guide to improving your success when starting rosemary from seed.
For many, growing Rosemary from cuttings will be a more reliable and quicker option.
The Issue with Starting Rosemary from Seed
Growing Rosemary from seed can be a very slow process, if it even works, but if you understand what the plant needs, it can be a very rewarding and worthwhile endeavor. Most failures happen because growers treat rosemary like basil or lettuce. Unlike Basil and Lettuce, Rosemary seeds are notorious for low germination rates and long timelines.
This is caused by its "mucilaginous seed coating". This is a waxy/gel-like coating that acts as a physical barrier to protect the seed from damage and aid in germination. Ironically, this same coating can also make germination trickier by preventing the diffusion of water and oxygen.
No water, no oxygen, no germination.
The key to increasing the germination rate of Rosemary seeds is by using pre-sowing methods and choosing the right soil mix or growing media.
What to Expect
Germination rate: 10–20% is normal (sometimes lower) - More information on how to improve the germination rates found below.
Early growth: Expect slow early growth, especially if plants are started indoors under inadequate lightning. Rosemary prefers bright direct light.
Truthfully, growing Rosemary from seed is not recommended if you intend to produce large quantities reliably. This is mainly due to the low or slow rate of germination. However, growing from seed will allow for greater genetic diversity and the possibility of stronger flavor profiles.
Step 1: Seed Selection
There are a variety of different places to obtain Rosemary seeds. Seed selection is not complicated, as the seeds are very small and usually come in large quantities to account for the low germination rate.
When selecting seeds, stick to these general guidelines
Use fresh seeds, ideally 1 year old or less. This will give you better odds at germination.
Avoid generic “culinary herb” seed packs and hybrid varieties .
Select a larger quantity of seeds than you intend to grow, most of them aren't going to make it. RIP.
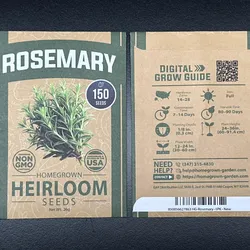
I personally use Heirloom Rosemary varieties in my garden.
TIP: Older seeds dramatically reduce success. This is one of the biggest hidden failure points.
Step 2: Cold Stratification (optional)
For the best chance of germination, it is highly recommended that you cold stratify your seeds. This essentially means exposing the seeds to the cold for a period of 1-3 months. This mimics Winter, and increases germination rate significantly. Check your seed packets as some seeds come "pre-stratified".
This step isn't absolutely required and is meant to increase germination rate.
Below are three methods you can use and experiment with depending on what space you have to work with and whether or not you are growing in pots, in ground, or hydroponically.
Method A - Seedling Tray: Fill a seedling tray or seedling starter pots with a 1:1 mixture of moist (not soaking wet). seedling starter mix and coarse horticulture sand, or barely moist rockwool cubes if transferring to a hydroponic system. Sow seeds 1/4" deep. Place the seedling tray in an unheated garage, patio or greenhouse.
Waterings should be very infrequent but keep the soil slightly moist as it is possible for the seedlings to sprout ahead of schedule.
Ideal seed starting mix:
Light, well-draining seed mix/potting soil
50% coarse sand - 1-2mm size recommended. Avoid play sand or fine sand as this can have the opposite effect and lead to soil compaction.
TIP: Avoid compost heavy or peat dense mixes. These stay wet too long and will put you at risk of overwatering.
Method B - Paper Towels: Wrap the seeds in a slightly moist paper towel. Place the paper towel in an airtight container. Then place the container in your fridge, unheated garage or patio.
Keep the paper towels barely moist, it can be helpful to add some sphagnum moss to keep the paper towels from drying out too much. If the towels become bone dry. Add a small amount of water to the surrounding moss. Not directly to the paper towel.
Method C: Just plant the seeds around your garden bed at the end of fall and let nature do all the work.
No real explanation needed here. Rosemary can be a beneficial companion plant. Having random rosemary plants throughout your beds also smells good.
Depth: Surface sow or barely cover (1/8 -1/4 inch max)
Gently press seeds into the soil—do not bury deeply
Space seeds so airflow reaches the surface
TIP: Rosemary seeds need light exposure to germinate well.
Step 3: Seed Germination
After cold stratifying your seeds, or not, it is time to create the right environment to signal germination.
Moisture & Humidity Control
Keep soil evenly moist, never wet. Rosemary is sensitive to root rot, overwatering will cause stunted growth and can eventually kill the plant.
Bottom watering is strongly recommended. Place the potted rosemary in a tray of your watering solution and allow the plant to slowly absorb the moisture. This will result in more even watering and promote a more robust and healthy root system
If using a humidity dome, vent daily. This will prevent the soil from remaining wet for two long and keep the foliage dry. Wet foliage and top soil can cause fungal infections and is a breeding ground for pests.
Remove the dome immediately after germination
TIP: Constant moisture can cause the seeds to rot or the seedling to dampen off
Light & Temperature (Critical)
Soil temp: 70–75°F (21–24°C)
Light: Bright light from day one after sprouting
Target 200–400 PPFD once seedlings emerge
TIP: Low light = weak, leggy seedlings that never recover.
Step 4: Early Seedling Care
Do not fertilize for the first 3–4 weeks
Allow the surface to dry slightly between waterings
Good airflow is essential
TIP : Rosemary seedlings prefer slightly dry roots even when young
.
When to Transplant
Wait until plants have at least 3–4 true leaves
Roots should lightly hold the soil together
Transplant into a gritty, fast-draining mix
Rushing this step often sets plants back permanently.
Congratulations! If you made it this far you are prepared to grow you're own Rosemary.

Comments